Wednesday, 24 February 2016

How to make beautiful flowers at home

In this post I will teach you to make flowers with organdy fabric (Organdy is a balanced plain weave. Because of its stiffness and fiber content, it is very prone to wrinkling. Organza is the filament yarn counterpart to organdy.).


A flower, sometimes known as a bloom or blossom, is the reproductive structure found in flowering plants. The biological function of a flower is to effect reproduction, usually by providing a mechanism for the union of sperm with eggs. Flowers may facilitate outcrossing or allow selfing. Some flowers produce diaspores without fertilization. Flowers contain sporangia and are the site where gametophytes develop. Flowers give rise to fruit and seeds. Many flowers have evolved to be attractive to animals, so as to cause them to be vectors for the transfer of pollen.

Materials you need-

1) Organdy fabric
2) Wire
3) Cotton
4) Green tape
5) Pollen grains

Method-

1) Cut the fabric ( organdy) into 8 to 10 squares as shown in step 1.
2) Fold each square as shown in step 2.
3) Cut out circles of each square and open them as illustrated in step 3.
4) Then cut the edges of the circles as shown in step 4.
5) Take few pollen grains and wrap cotton around their ends as shown in step 5 and insert a long piece of wire through the stem. Now, cover the cotton and the stem with the green tape.                       
6) Place the circles one above the other and make a hole in the center area as illustrated in step 6.

7) Finally, insert the stem through the hole from above as shown in step 7.


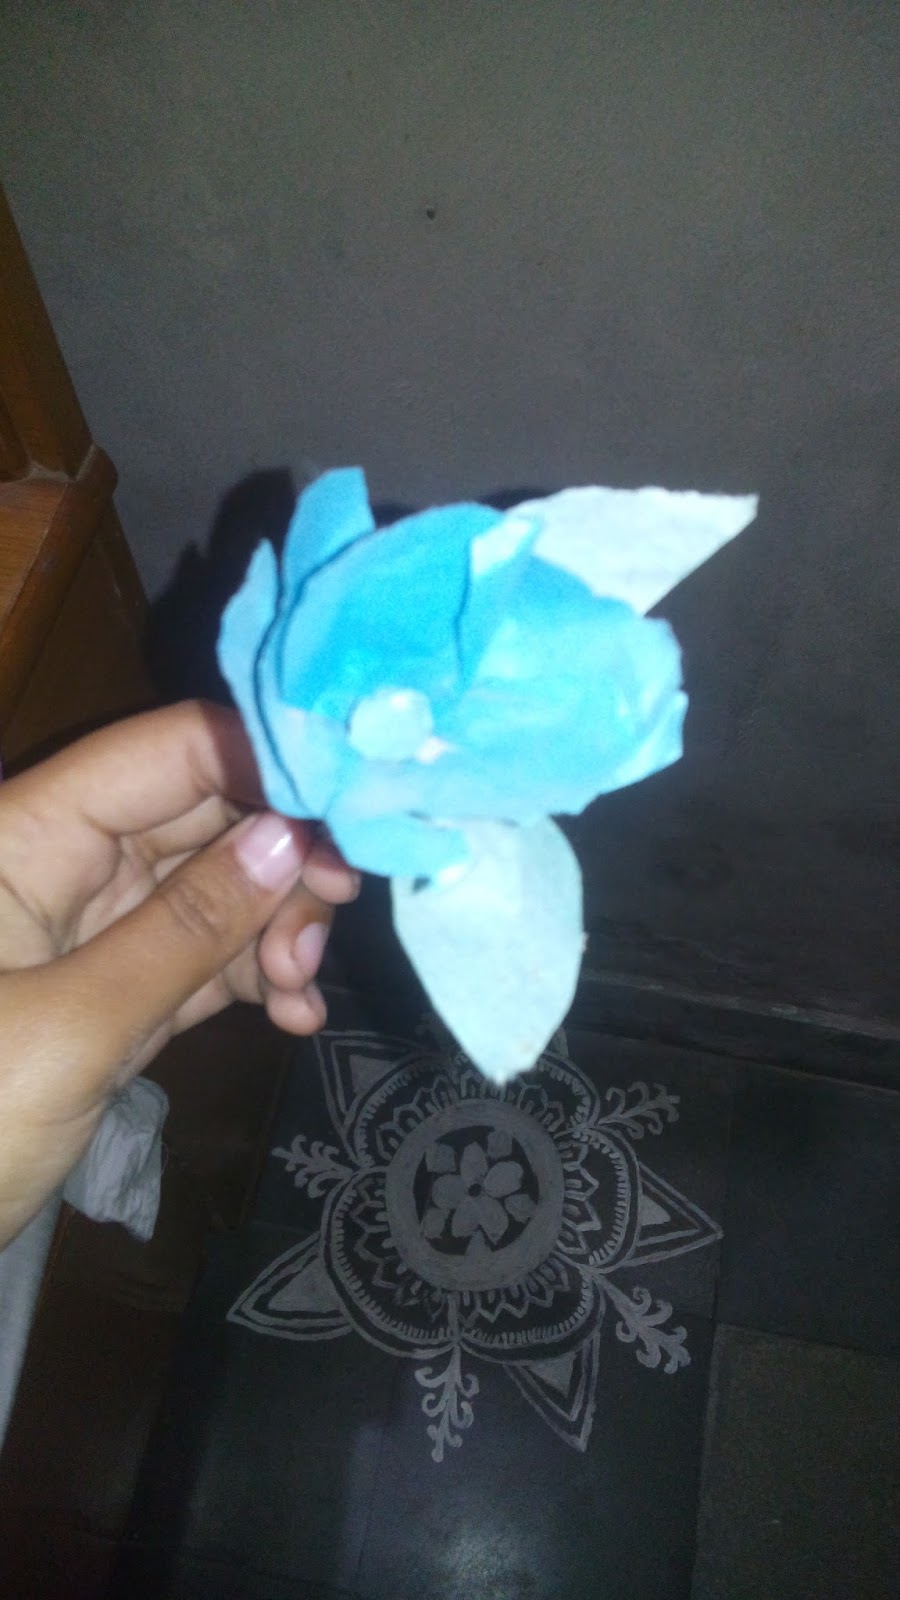
Your organdy fabric flowers are ready.

Sunday, 21 February 2016

How to Make a Bird at Home

In this post I will teach you to make a bird at home.


Birds are a group of endothermic vertebrates, characterized by feathers, a beak with no teeth, the laying of hard-shelled eggs, a high metabolic rate, a four-chambered heart, and a lightweight but strong skeleton. Birds live worldwide and range in size from the 5 cm bee hummingbird to the 2.75 m ostrich. They rank as the class of tetrapods with the most living species, at approximately ten thousand, with more than half of these being passerines, sometimes known as perching birds or, less accurately, as songbirds.

You will need-

1) Ordinary mud

2) Shells

3) Black pearls

4) Stone

5) Glue

6) A square cardboard piece.

Method-

1) Mix glue and mud to make a paste. Use 80% of mud and 20% of glue.

2) Make a round ball and a oval one with the paste as shown ( step 1-2).

3) Paste the ball on the top of the oval ( step 3).

4) Use shells for the beak and pearls for the eyes (step 4).

5) For the wings and the tail you can either use pencil drawing or brown paper ( step 5).

6) Take the cardboard piece and place a stone on it ( step 6).

7) Finally paste a bird on the stone ( step 7 ).


8) Your bird is now ready to fly (step 8).
 

Saturday, 20 February 2016

How to Make a Owl at Home

In this I will teach you how to make a owl at home using just five materials.


Owls are birds from the order Strigiformes, which includes about 200 species of mostly solitary and nocturnal birds of prey typified by an upright stance, a large, broad head, binocular vision, binaural hearing, sharp talons and feathers adapted for silent flight. Exceptions include the diurnal northern hawk-owl and the gregarious burrowing owl.


So we will start by taking a quick glance at the materials required.

Materials Required-

1) Ordinary mud

2) Pencil shaving

3) Stone (big)

4) Glue

5) Poster color (white)

Method-

1) Make a paste of mud and glue.

2) For the paste use 80% of mud and 20% of glue.

3) Make an oval shape with the paste as shown in step1.

4) Paint the oval half with ochre and half with white color as shown in step 2.

5) For the eyes either paint or cut and paste two ovals as shown, in step 3.

6) Stick paper cone for the beak, feet and the ears of the owl as shown in step 4.

7) Use pencil shavings for the wings as shown in step 5.

8) Take a big stone , paint it with an attractive color and paste the owl on it as shown in step 6.

 
So with this your beautiful owl is ready.


Wednesday, 17 February 2016

How to make a Beautiful Pen Stand

In this post I will teach you to make a beautiful pen stand.


A pen and pencil holder does just what it implies; it holds pens and pencils. Although a box or a bag can also hold pencils and pens, a holder usually refers to a cylinder-shaped container in which the writing instruments are placed upright. It can be bought at an upscale store and made from the finest materials, or it can be as simple as peeling the label off of a washed food can and using it to hold writing implements.

So here are some interesting ideas to make a beautiful pen holder-


1) So for making a penholder one of the easiest and best idea is to use plastic bottles. Using plastic bottles you can make very different types of pen holders. So for this I would like to provide you with some ideas-


- Get a water bottle. Prefer a plastic one, since it is easier to cut. Now take the help of an adult because this may be dangerous. Cut from the middle. You can use a knife. Then, the time has come for some decorative work. Take tissue paper and tear it into small pieces. Then, apply the glue on the bottle with a brush(use a flat brush). Stick the tissue papers on it. This will make the holder strong. Plastic bottles are light and hence many a times they blow away or fall off. This paper tissues will keep the holder strong. Use as much tissue paper you can, but remember that you have to make your holder beautiful! So don't make a thick layer of tissue papers! Also make sure you don't make the bottom uneven, or else the holder won't stand still. After the tissue papers have hardened, test your holder by making it stand on a flat surface. If it sits still, then good job! Take some colors and start painting on the papers. Use vibrant colors, like pink, blue purple, or any color of your choice! Simply use your artistic sense and let go!


- The other way is to draw a artistic figure on a colored bottle like a frog and cut it ( do not cut the base but use it as legs or waist or anything according to your creativity and imagination). Now cut its hands and legs from the remaining bottle and attach them also make the features like eye, mouth and do the detailing. Put your pen and pencils in it and keep it on your desk.


2) The second way is to use a toilet paper roll tube. So the steps you have to follow are as  follows-


-Find an empty toilet paper roll tube .Get four 2p coins and cello-tape them together. Then stick it onto a small piece of square card. This will be used as the base of the pencil holder.
Stick the toilet roll tube onto the base with the coins facing downwards
Then cover the tube in colored paper (or plain and you can decorate it) Decorate the whole of your pen holder any way you want.
There you go. One easily made pencil holder for very little cost.

Saturday, 13 February 2016

How to Reuse Plastic Bottles

 If you got a lot of plastic bottles at your home and you want to get rid of them, so instead of throwing them or burning the plastic bottles be creative and reuse them.

 
In this post I will teach you how to reuse plastic bottles.


A plastic bottle is a bottle constructed from plastic. Plastic bottles are typically used to store liquids such as water, soft drinks, motor oil, cooking oil, medicine, shampoo, milk, and ink. The size ranges from very small sample bottles to large carboys.


 Plastic bottles are everywhere you turn. Drinking water, soda, various food products and even condiments come in plastic bottles. While plastic bottles provide manufacturers with a cheap and convenient way to package their products, these bottles take, on average, 1,000 years to biodegrade; posing a threat to both consumers and the environment as a whole. So we will reuse  plastic bottles as the plastic is very harmful to the environment.
 
 
In this post I will teach you only two methods to reuse plastic bottles but they will be the best ones.
 

So the methods to reuse plastic bottles are-

 
1) The first method is to make flowers of the plastic bottles, which I think is the best idea because they look very beautiful and can be used for any type of decoration.

Process-


For making flowers with plastic bottles you have to options-  The first one is to make the flowers with the bottom of the plastic bottle. While the second option is to make the flowers from the top of the plastic bottle. If your are cutting the bottle from the bottom then you have to cut it simply round, and if you want to cut it from the top you have to give the upper part of the bottle the shape of the petals also there is no need to remove the cap. After you have finished cutting the flower color the flower using fabric colors. Do not use poster/water colors because it is hard to paint plastic  using poster/water colors. Now turn the petals a little outer so as to give it a beautiful look. At last make a hole in the cap or the middle point of the bottom of the bottle and put a wire in that hole. After putting the wires in every flower bunch all the flowers together or arrange them in any order you want to arrange. Your plastic bottle flowers are ready to be used for decoration.
 
2) The other idea is to make a sumo wrestler using plastic bottles. Sumo is a competitive full-contact wrestling sport where a rikishi (wrestler) attempts to force another wrestler out of a circular ring or into touching the ground with anything other than the soles of the feet. The characters literally mean "striking one another".

Process- 

For making a sumo  wrestler remove the middle part of the bottle by cutting the top and the bottom part. Join the two parts together using tape or glue ( it is preferred to use glue rather than tape) and start coloring it with the cap of the bottle painted as the face of the sumo. Your sumo wrestlers are ready for a great fight.
 
So use these methods and decorate your home.
 

Sunday, 7 February 2016

How to make a Beautiful Sculpture

In this post I will teach you how to make a simple, different, beautiful and small sculpture.


First I will tell you what is a sculpture. Sculpture is the branch of the visual arts that operates in three dimensions. It is one of the plastic arts. Durable sculptural processes originally used carving (the removal of material) and modelling (the addition of material, as clay), in stone, metal, ceramics, wood and other materials but, since modernism, shifts in sculptural process led to an almost complete freedom of materials and process. A wide variety of materials may be worked by removal such as carving, assembled by welding or modelling, or molded, or cast.


You might have seen many sculptures but this one will be a little different, this is the sculpture of a sage (in Hinduism, a sadhu (Sanskrit sadhu, "good; good man, holy man") is a religious ascetic or holy person.[1] Although the vast majority of sadhus are yogis, not all yogis are sadhus. The sadhu is solely dedicated to achieving moksha (liberation), the fourth and final aśrama (stage of life), through meditation and contemplation of Brahman. Sadhus often wear saffron-colored clothing, symbolizing their sannyasa (renunciation). This way of life is open to women; the female form of the word is sadhvi. In 2014, an all-female akhada (group of sadhus) was formed; it is believed to be the first such group in India.[2]).


Materials Required-


1) 3 to 4 packets of shilpkar ( white M-seal)

2) A small  plastic bottle ( medium size or if  large you can take more packets of shilpkar and if the bottle is small you can take less number of packets)

3) Sand to be filled in bottle

4) A knife or a toothpick for making designs

5) Paintbrushes


6) Colors ( you can take any poster colors or fabric colors)


Procedure-


1) Fill the empty plastic bottle with sand so that it does not fall and it has some weight.

2) Take the packet of shilpkar it will constitute of two packets. Take equal amount (you can use the half packet at a time) of shilpkar from both the packets and mix it till it gets evenly distributed. The color of the mixture formed should be white, the darker color should not be visible.

3) After mixing the shilpkar start placing it on the bottle. Start from the bottom. Do not use a very thick layer and also do not take much time in doing this because the shilpkar hardens within half an hour. Do this till the neck of the bottle.

4) Now for face first cover the bottle cap with shilpkar and then make small round balls of it for eyes and give the shape of nose, mouth and hair also.

5) Make the hands by making long cylindrical rolls of the shilpkar and attach it to the body. For making the flower you can make inside and outside folds of the shilpkar.

6) Now take a knife or a toothpick and make detailing's of the eyes, nose , mouth , hair, hand and flower.

7) Now take a little amount of water and using your hands slowly level the sculpture.

8) Wait for your sculpture to get dried and harden and then color it.  You can also give it a look you want.


Your amazing, beautiful and simple sculpture is ready.


Note- While mixing the shilpkar put some talcum powder on your hands so that it does not stick to your hands.


Friday, 5 February 2016

How to make Simple and Beautiful Paper Flowers

In this post I will teach you how to make very simple and beautiful paper flowers.


First I will tell you what are flowers. A flower, sometimes known as a bloom or blossom, is the reproductive structure found in flowering plants. The biological function of a flower is to effect reproduction, usually by providing a mechanism for the union of sperm with eggs. Flowers may facilitate outcrossing or allow selfing. Some flowers produce diaspores without fertilization . Flowers contain sporangia and are the site where gametophytes develop. Flowers give rise to fruit and seeds. Many flowers have evolved to be attractive to animals, so as to cause them to be vectors for the transfer of pollen.

There are many types of paper flowers but this time I would like  to restrict myself to the easiest one.


Materials  Required-


1) A thin sheet of colored paper (of any color, you have to take one green colored sheet also so as to make the leaves).

2) Pencil.

3) Scissors.

4) A long stick .

5) Thread of any color (best if you take white, green or the color of the sheet you are using to make the flowers).


Procedure-


1) Take the colored sheet and fold it so as to make it small and so that you can cut many petals at the same time.

2) Now draw the shape of any kind of petal on the sheet and cut it.

3) Do this with the green colored sheet also but on this sheet draw leaves (the shape of leaves is different from the shape of petals).Make use of only half sheet as the number of leaves required is much less than the number of flowers.

4) Take some of the  waste (sheet left after cutting the leaves) green colored sheet and make a small roll of it. Fix this roll at one end of the stick with the help of the thread.

5) Now take the petals and start placing them on the stick and tie them with thread at the same time.

6) At last, when you have completed placing the petals place the leaves also (for a beautiful look do not use more than 3 leaves).

7) Take some of the green colored sheet and wrap it round the stick to give it the look of stem.


Now your paper flowers are ready to be kept in a vase or to be used for decoration purposes.